Regarding the XiaoZhi AI chatbot breadboard DIY build, here are the component/module purchasing instructions for the related hardware:
This project is primarily open-source, but we have curated some purchase links frequently used by community members for your reference. For more options, please search on Taobao or other shopping platforms.
The only thing that requires special attention is to make sure you use a development board with an official module!
Additionally, GOOUUU development boards available on the market have stable chip module signals, and QQ group members have reported fewer signal issues with them, so they can be used.
Please try to choose development boards that use official modules. The ESP32-S3-WROOM-1 official module is shown below:
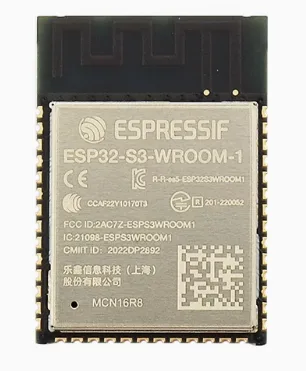
1) For individual components, search by module name. For example, search "ESP32 S3 Development Board" for the dev board, "INMP441" for the microphone, and "MAX98357" for the audio amplifier. Usually you can find all the modules on the parts list from the same store (except for the ML307R-4G module).
2) For combo kits, search for keywords like "XiaoZhi AI ESP32" or "XiaoZhi AI ESP32S3", etc.
Note: Since products vary between sellers, please choose stores with high reputation, high sales volume, and good reviews. For purchase inquiries and after-sales quality issues, please negotiate directly with the seller; this project is not responsible for these matters.
1. ESP32-S3-DevKitC-1 Development Board & Components (Individual Parts)
2.1 ESP32-S3-DevKitC-1 Development Board
The XiaoZhi AI chatbot hardware solution primarily uses the Espressif ESP32-S3-DevKitC-1 development board (equipped with the ESP32-S3-WROOM-1/1U N16R8 chip module).
Currently, the market mainly offers the Espressif standard version with 44 IO pins (Version 1) and the GOOUUU version with 42 IO pins (Version 2). Both are equipped with the ESP32-S3-WROOM-1/1U N16R8 chip module and are both supported by the XiaoZhi AI chatbot. The main difference is that the IO pin positions are slightly different. See the diagrams below for reference:
Espressif standard version with 44 IO pins
GOOUUU version with 42 IO pins
2.2 MEMS Digital Microphone (INMP441)
1) It is recommended to purchase components with pre-soldered pin headers for easy insertion into the breadboard;
2) Search for "INMP441" when purchasing the microphone;
3) The price is generally between 5.5-9 CNY, though prices seem to have risen recently.
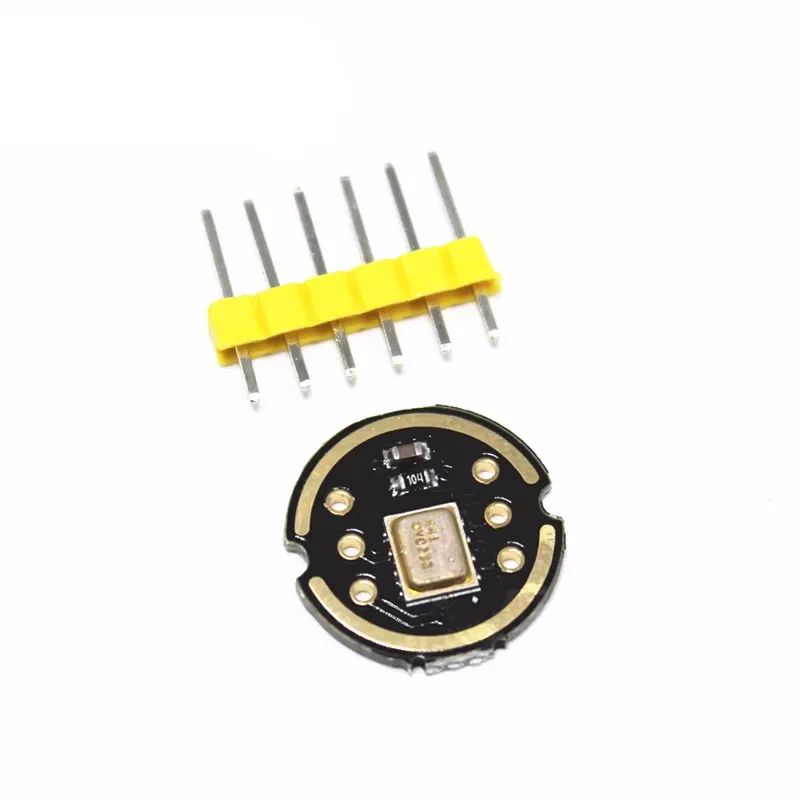
2.3 Digital Amplifier (MAX98357A)
1) It is recommended to purchase components with pre-soldered pin headers for easy insertion into the breadboard;
2) Search for "MAX98357" or "MAX98357A" when purchasing the digital audio amplifier;
3) The price is generally between 3-6 CNY;
4) Models: MAX98357A, MAX98357B, and MAX98357 are all compatible and supported.
The BGA package version of MAX98357 has lower cost but may have inferior audio quality. Community members have reported some issues with it. It is not recommended to purchase the BGA package version of the MAX98357 audio amplifier.
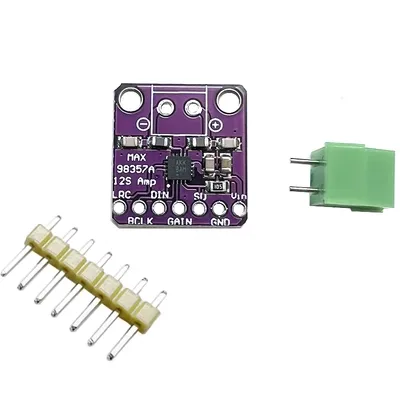
MAX98357A reference image
2.4 Enclosed Speaker
1) Recommended: enclosed speaker (8Ohm 3W) / (4Ohm 3W). Speakers exceeding this power rating cannot be fully utilized.
2) Search for enclosed speaker 3W;
3) Prices generally range from 2-10 CNY. More expensive ones may have better quality; please choose according to your preference;
4) For speaker wire terminals, choose based on the digital amplifier you purchased. The MAX98357 connection does not require wire terminals as it uses screw hole mounting.
If you want to use a higher-power speaker, or stereo dual speakers, etc., you will need separate power supply and audio module support. Users should consider this on their own.
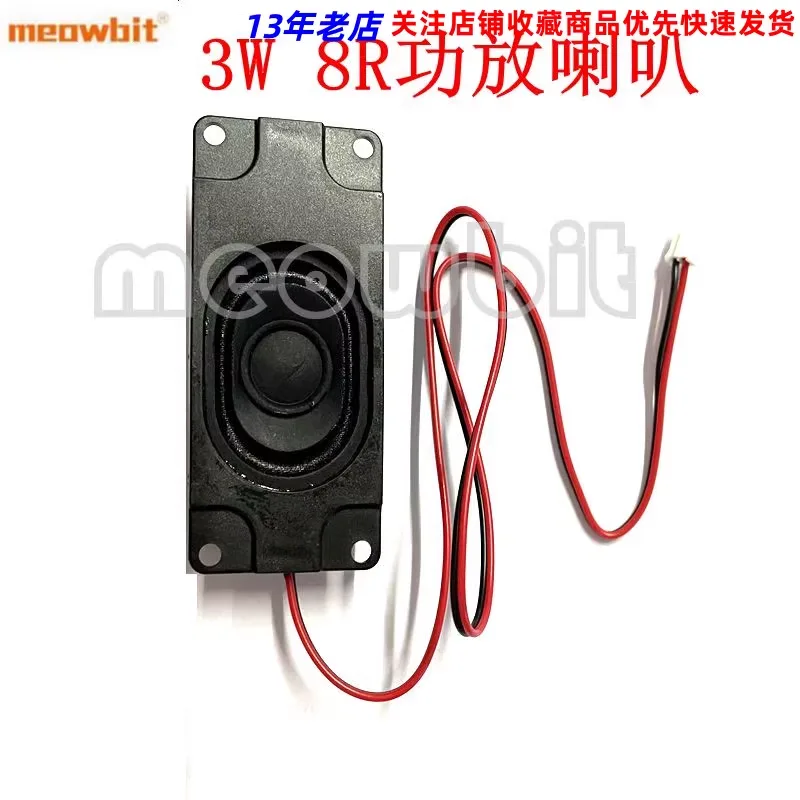
Terminals are optional
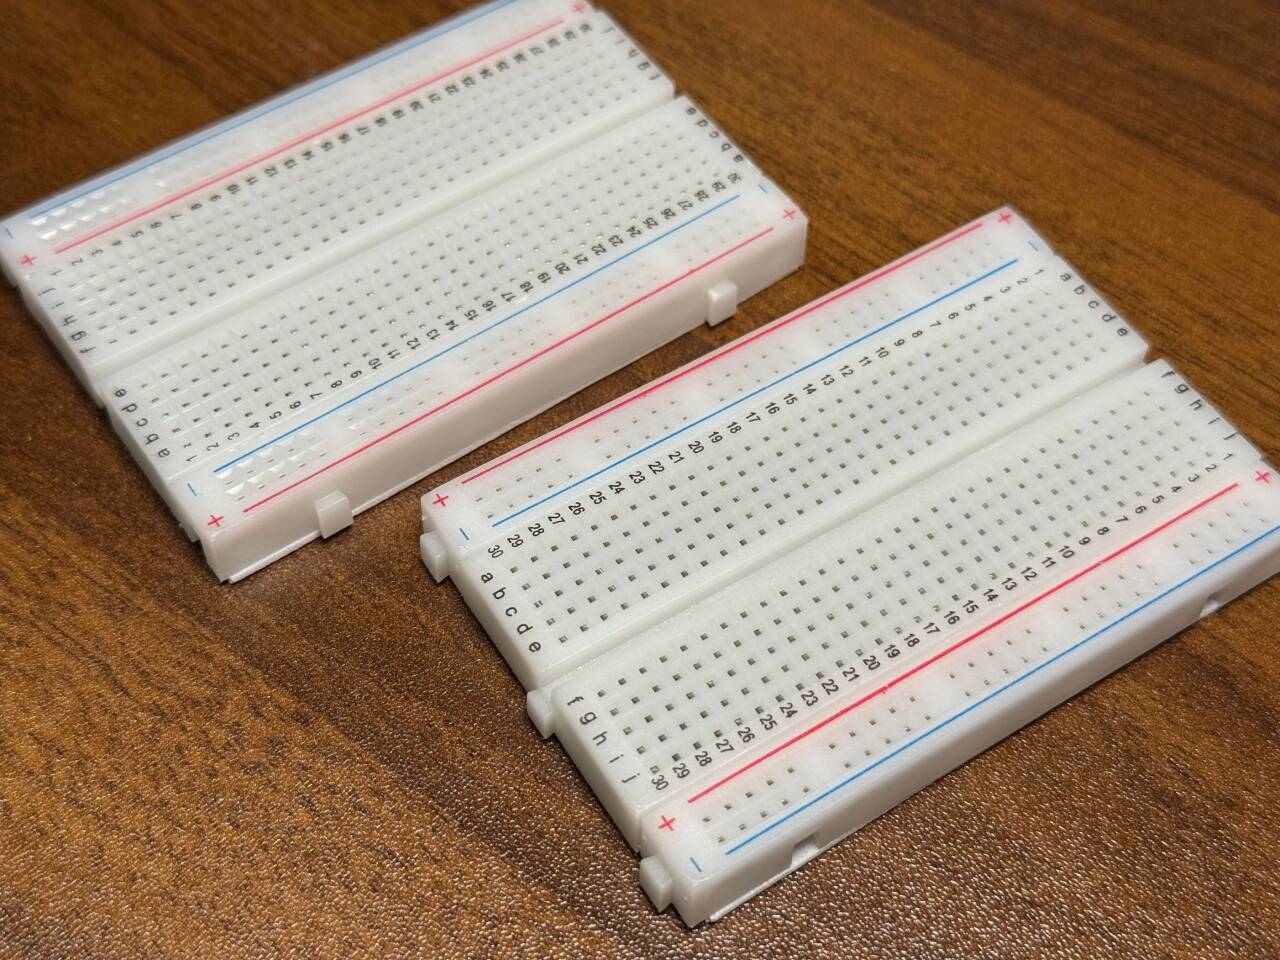
2.5 Breadboard (2 pieces, 400-hole each, optional, recommended)
1) It is recommended to purchase two 400-hole breadboards. Without breadboards, as you connect more electronic components to the development board, things can easily become a tangled mess. If you are using DuPont wires or soldering for assembly, you may not need to purchase breadboards.
2) Search for 400-hole breadboard
3) Prices range from 1.5-5 CNY. It is recommended to purchase a higher quality breadboard.
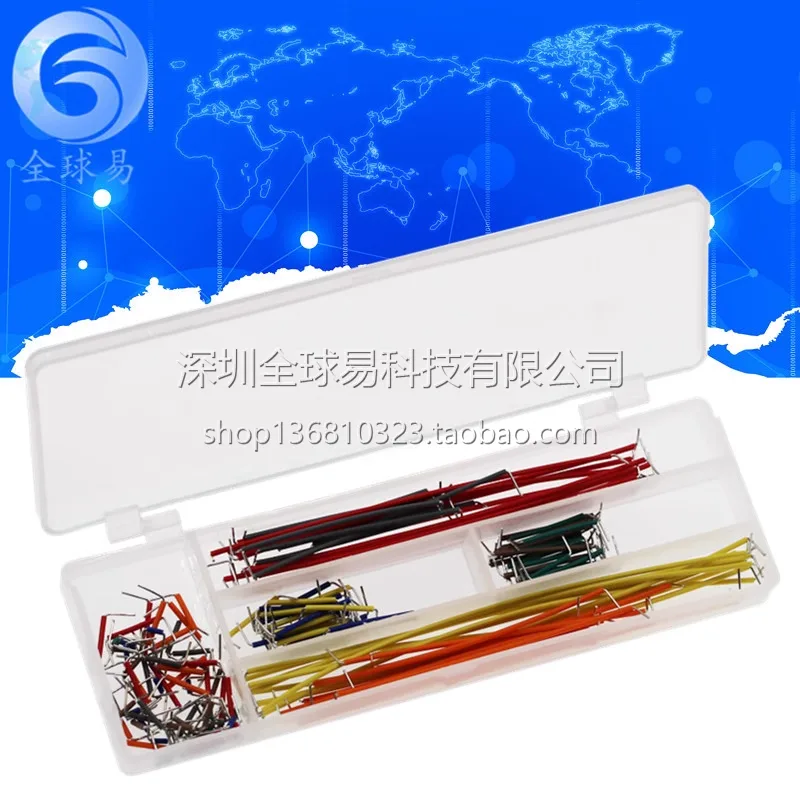
2.6 Wires (1 box of jumper wires, several DuPont wires)
1) It is recommended to purchase a boxed set directly, which includes various specifications of jumper wires.
2) Search for breadboard jumper wires
3) Reference price: 5-7 CNY
- Note: If you are using DuPont wires (not using a breadboard), please also purchase a few 1-to-2 splitter cables (3 female cables) for shorting the microphone and digital amplifier, to solve the problem of insufficient 3V3 power and GND ground pin headers on the development board.
DuPont 1-to-2 female splitter cable
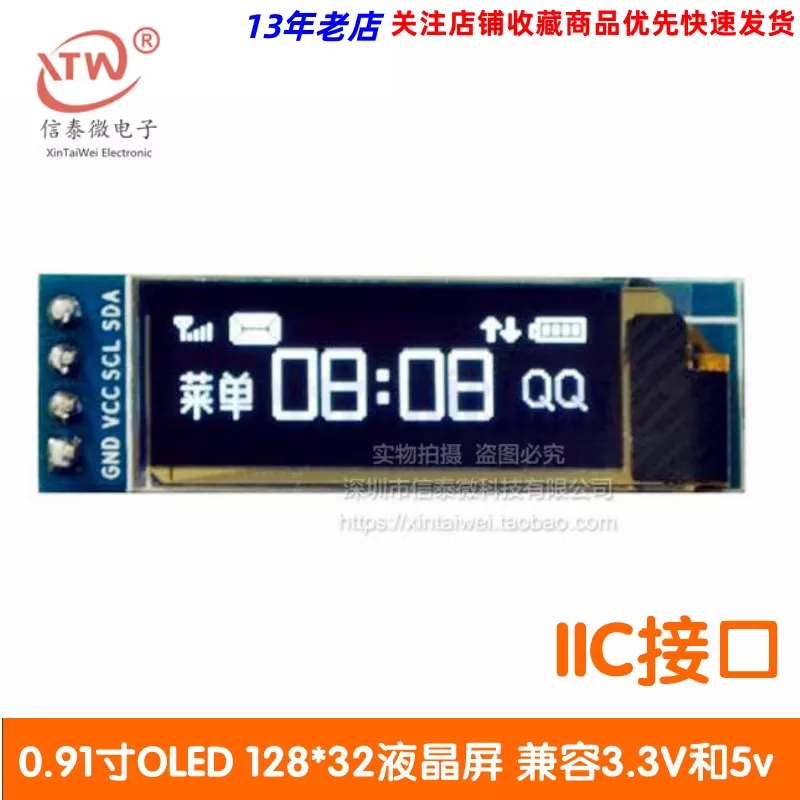
2.7 OLED Display (IIC Interface, recommended, optional)
1) When purchasing, confirm that it uses the SSD1306 driver. It is recommended to choose a screen with GND as the first pin (consistent with the wiring tutorial). The default size is 0.91 inch. 0.96 inch or 1.3 inch SSD1306-driven OLED screens are also supported, but the resolution needs to be adjusted (via development environment compilation).
2) Search for SSD 1306 OLED screen
3) Reference price: 5-7 CNY
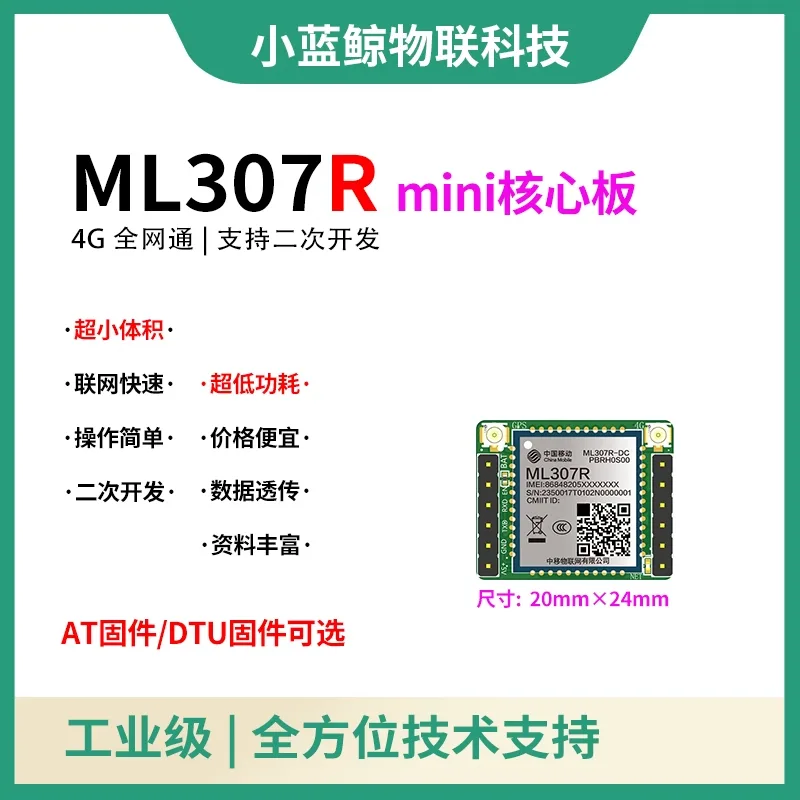
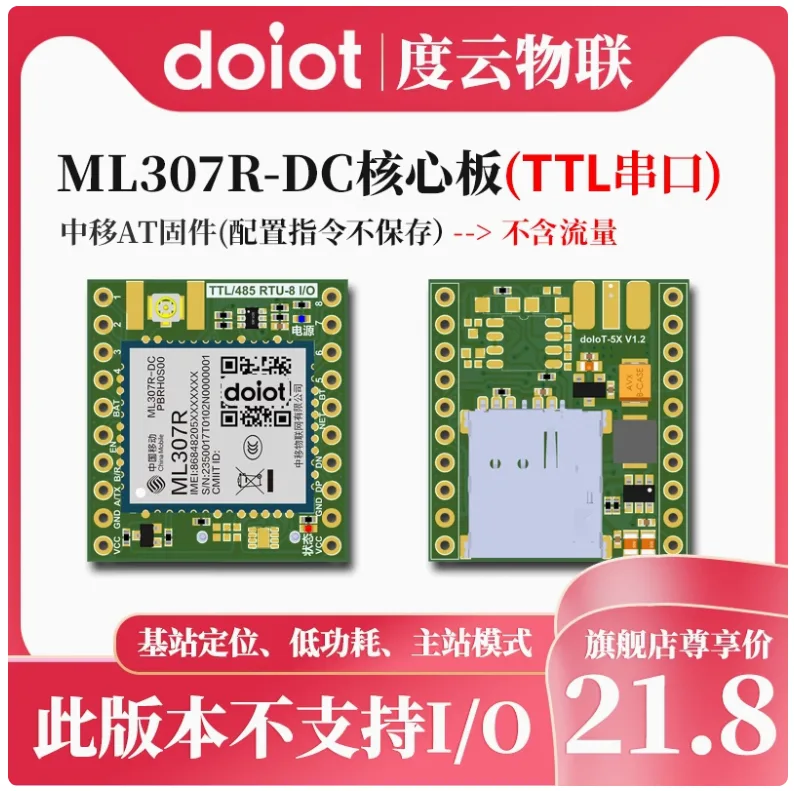
2.8 ML307R - 4G Cat1 Communication Module (Optional)
Note: When purchasing the China Mobile ML307R 4G Cat1 communication module, make sure to select the AT firmware version!!! Other versions are not currently supported!!!
1) Please select the ML307R 4G Cat1 communication module with AT firmware version;
2) Both ML307R-DL and ML307R-DC versions are acceptable. Regular users can purchase the DL version. Developers may choose the DC version (which supports openCPU, etc.; see details on your own);
3) It is recommended to purchase a module with a removable SIM card slot for easy replacement of 4G data SIM cards. Embedded SIM cards are soldered onto the PCB, so try to avoid those. You can separately purchase a data SIM card or use your own mobile SIM card (with data plan);
4) It is recommended to select an antenna when purchasing to enhance 4G mobile signal.
Purchase Link References:
XiaoLanJing IoT Technology: https://item.taobao.com/item.htm?from=cart&id=797466121802&skuId=5434497184727
DuYun IoT: https://detail.tmall.com/item.htm?_u=ko1bsr22a1&id=737949327567
2.9 Micro Switch / Button
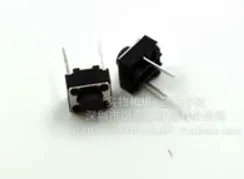
Use a 6*6mm micro switch / tactile switch. On the breadboard, straddle it across rows as shown in the diagram. The button is shown in the image below:
Note: To prevent beginners from accidentally shorting pins, Xia Ge recommends using 2-pin through-hole buttons instead of 4-pin ones (experienced users can ignore this).
Purchase link reference: https://item.taobao.com/item.htm?id=42823169259
2. ESP32-S3-DevKitC-1 Development Board & Breadboard Kit
For the XiaoZhi AI chatbot hardware, the breadboard DIY solution requires purchasing the ESP32-S3 development board and breadboard kit, which saves time searching and comparing components. It is convenient for one-time purchasing and may save on shipping costs compared to individual parts. Users can choose to purchase at their discretion.
Breadboard XiaoZhi AI WiFi combo kit (excluding 4G module). Follow the wiring tutorial to connect (no soldering required). Beginners are recommended to get the pre-assembled breadboard version;
Reference link: To be added
You can also search for "XiaoZhi AI breadboard kit" on shopping platforms to compare options.
Preview shown in the image below:
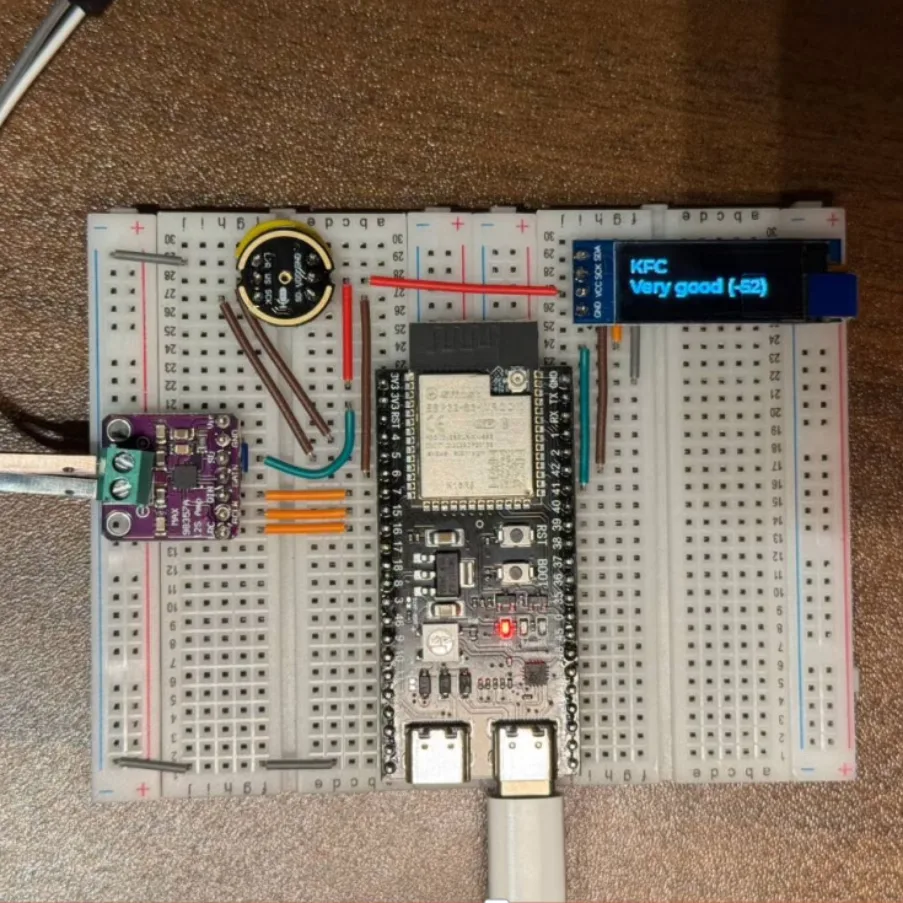
Note: Beginners are recommended to purchase integrated kits (no wiring needed). We recommend purchasing official XiaoZhi AI commercial products, or third-party development boards mentioned in the documentation (see Sections 3 and 4). For other development boards, please search and purchase on Taobao or other platforms on your own.